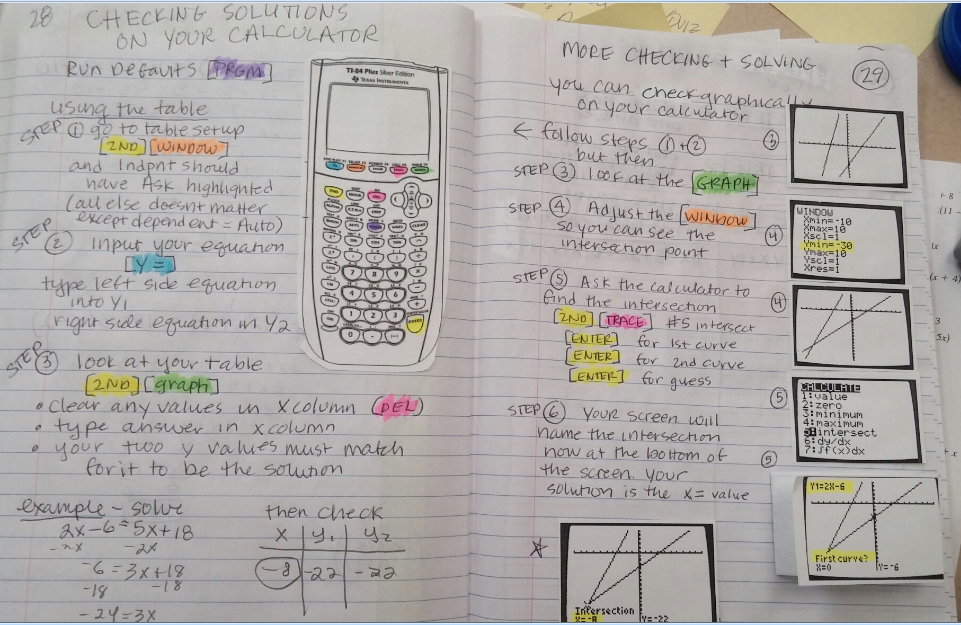
So we ultimately do this 2-page spread. But we do it step by step with students doing the same thing on their calculator.
We've already done a lot of solving and students are quite good at that. And they know how to check a solution by substituting it for a value of x and simplifying.
So we start with the "table method".
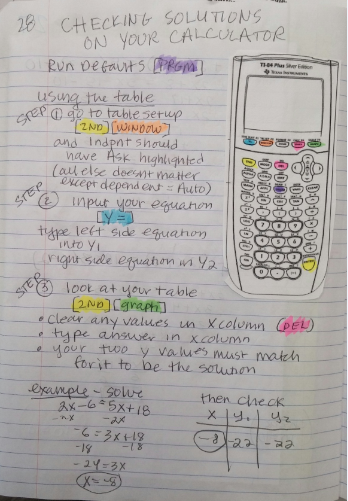
As we go through this we highlight the keys we are using corresponding to the highlighted words for the keys in our instructions.
Remember - step-by-step and check everyone as you go. Patience....
Then we go through the example together. Step by step. I have them write what they see on the table. They won't do this every time they use this method to check. We are just doing it now to confirm what we see.
Next we check with the graph. Basically checking the point of intersection.

This page involves cutting out fussy little bits for them to glue next to the steps. Thank God for a paper cutter.
The "intersect process" has multi-steps of [enter][enter][enter] so we have an accordion fold set of graphs to show that progression.

Finally I give them the intersection graph to glue in their notebook. I don't hand that out at the start. I want them to get it on their calculator screen first.

Now we revisit those "always true" and "never true" equations we saw earlier. The ones that end up with an "identity" or an "anti-identity" (the later being my made-up word).

They've seen these and have solved and had these as solutions. But this page "formalizes" it a bit and gives them the symbols they can use to show the solution.
We go over how to check that on the graphing calculator. Next year I'll change my examples. The parallel lines are very close together. We had to zoom out to see that they were indeed parallel and not the same line.

A few students in my class do not have graphing calculators at home. But they do have access to computers. So I tell them to go to desmos.com and use their graphing and table functions to check. I wrote up a short basic instruction sheet on how to do that.
No comments:
Post a Comment